Role Groups
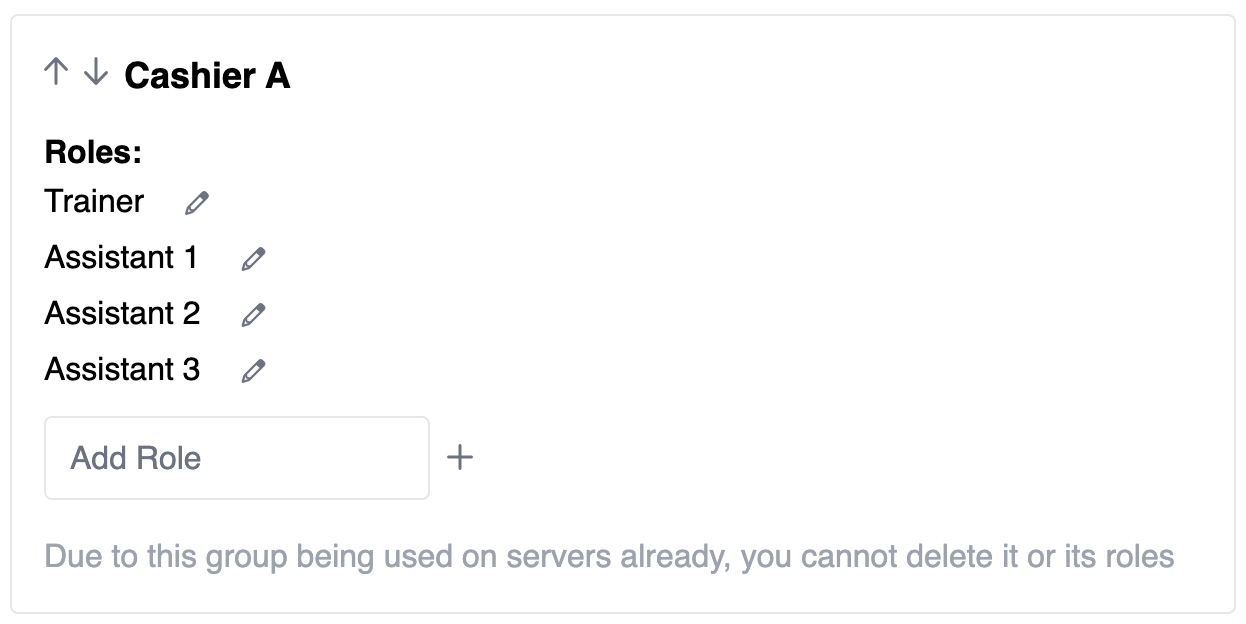
Role Groups are the foundation of attendance at sessions. They are available to be given to one staff member and are arranged into groups. For example, you might have a role group named 'Cashier A' with 1 trainer and 3 assistants beneath it.
Think of role groups like organised containers for staff members at your training.
Creating a Role Group
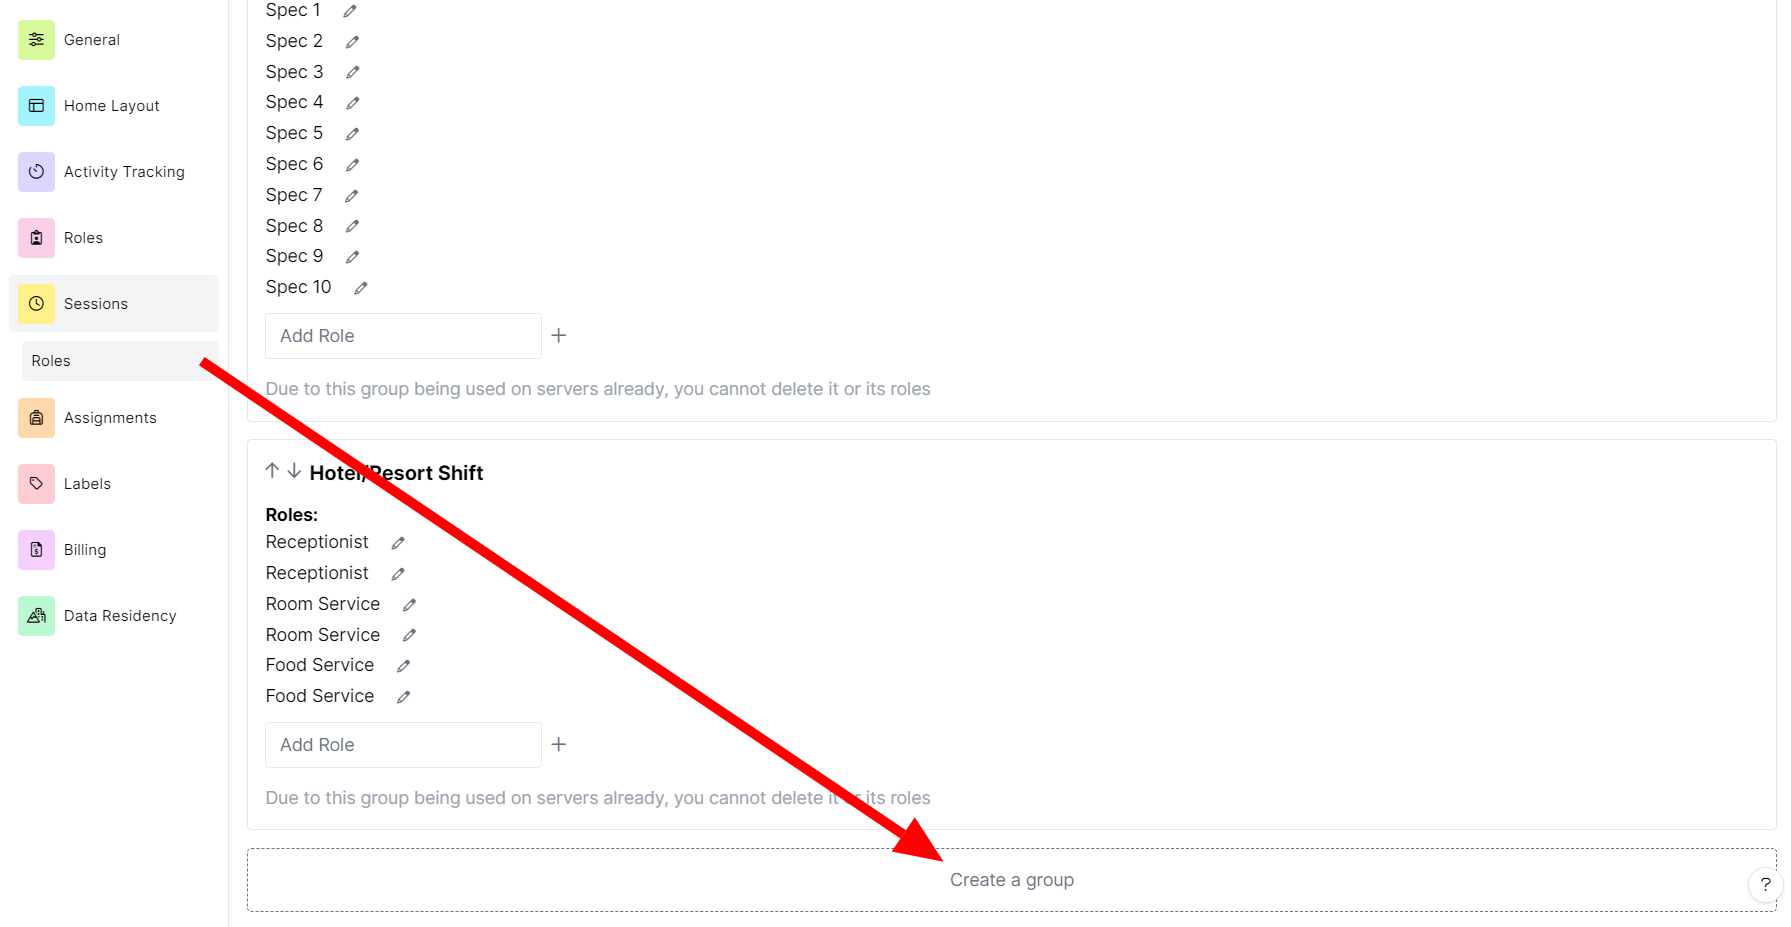
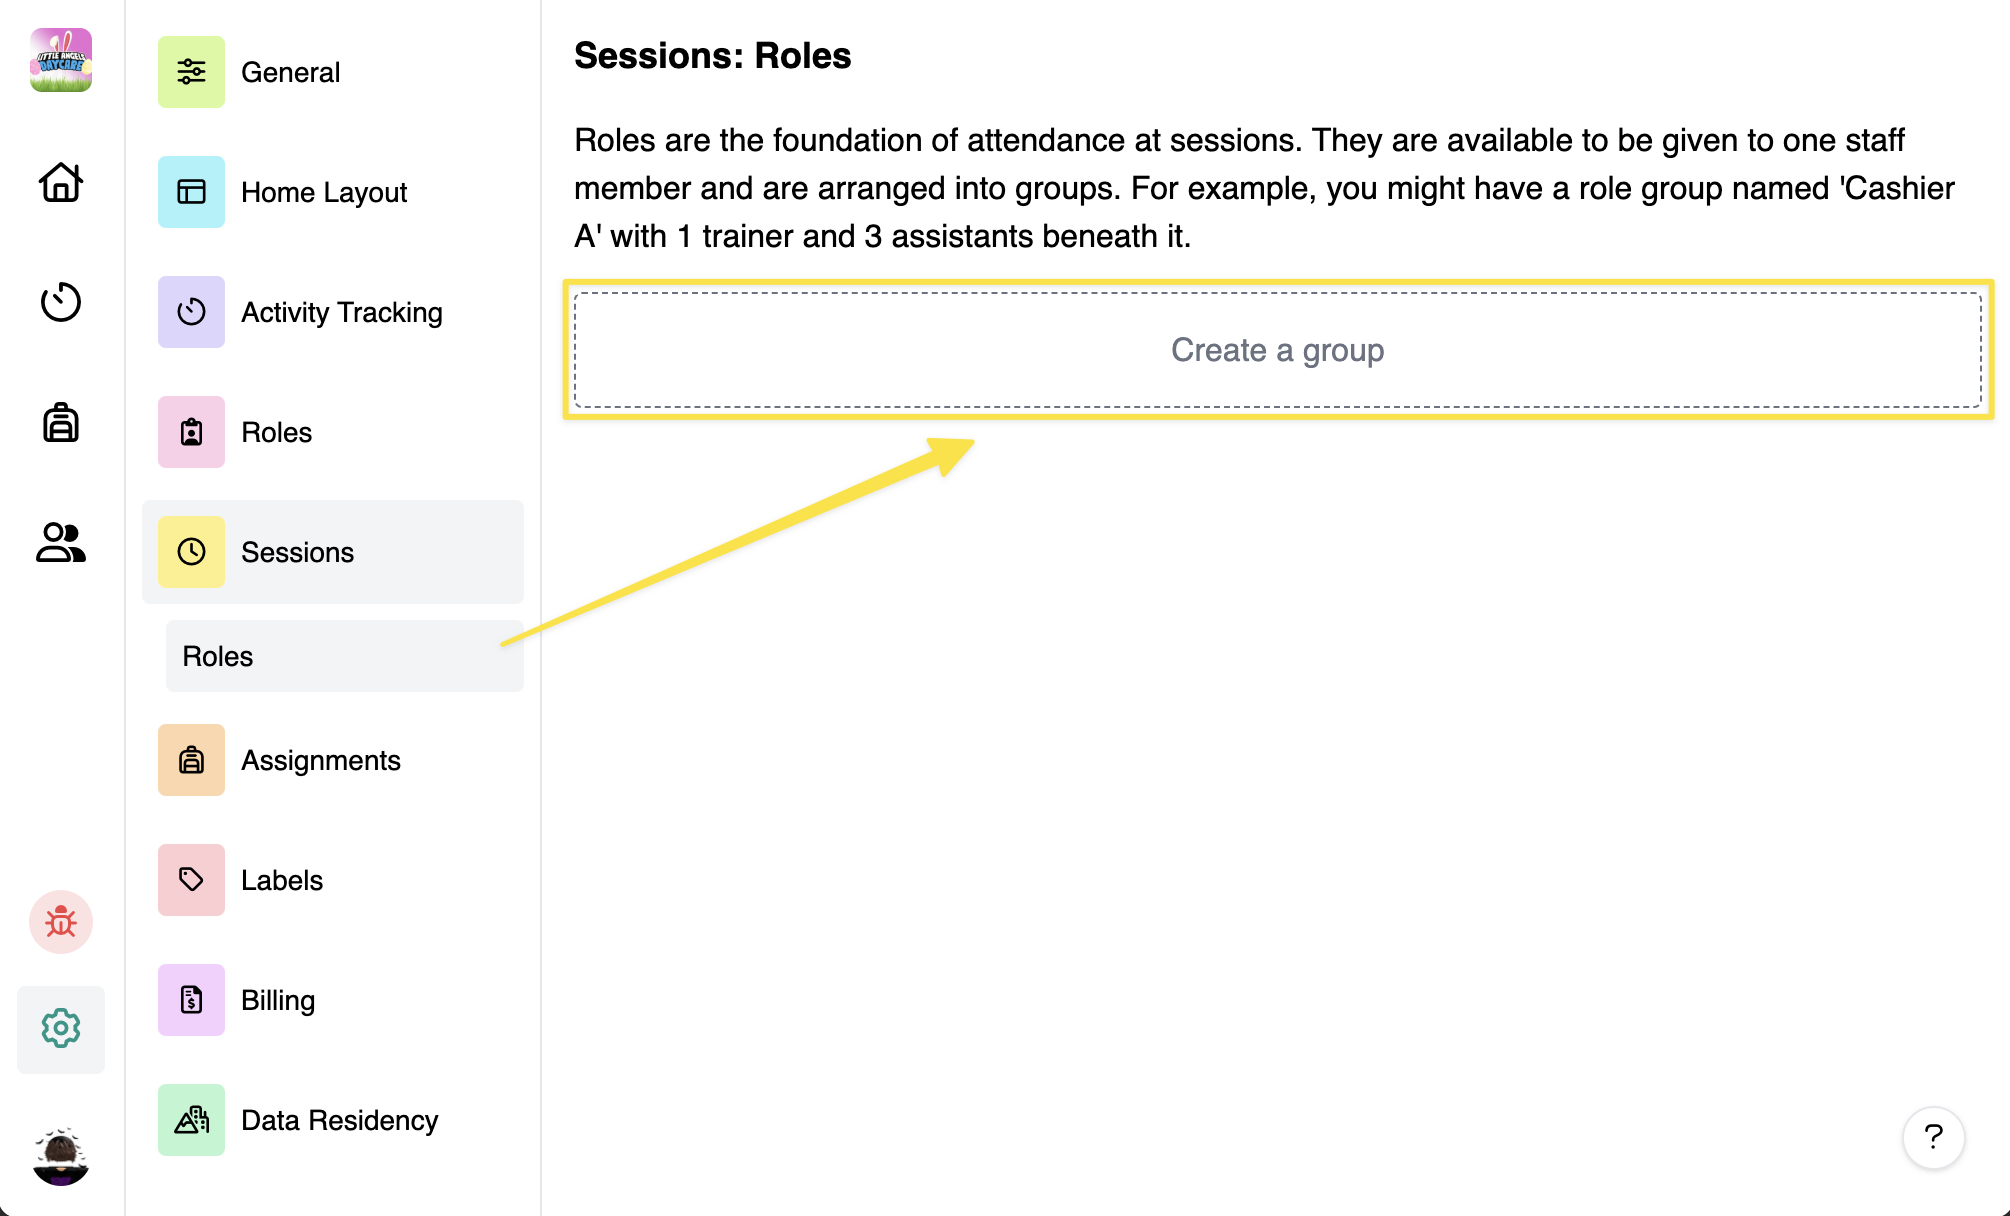
To create a Role Group, you need to go to Settings > Sessions > Roles, and click "Create a group". Once clicked, it will ask you to give it a name.
After giving it a name, you can now set how many roles does that group have? For example, let's say you need at least 2 spectators and 2 rankers in your Training Session, type "Spectator 1" and hit +.
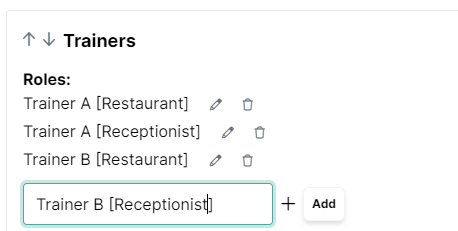
Repeat the process until you've added all of the roles that you want.
Please note that only one person can join the role. That means if you have added 4 Trainers, there will only be 4 trainers in the session.
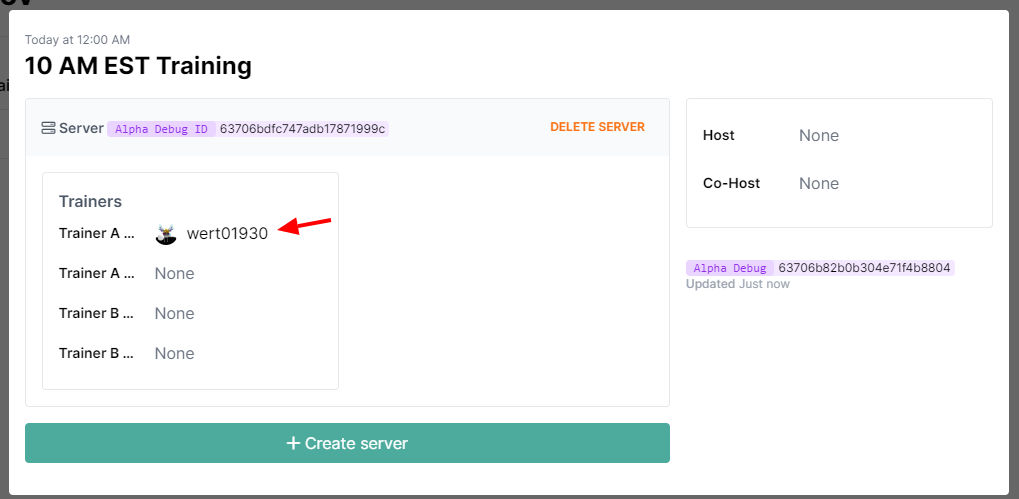
After you've created a role group, you'll need to add some roles. Roles are the actual building blocks for your attendance, and these are what your staff will add themselves to when they want to attend a session.
Only one person can join each role. If, for example, your 'Cashier' training group has 3 helpers, you'll need to add 3 helper roles. :::
Deleting a Role Group
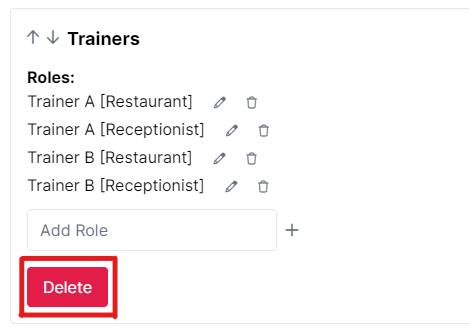
Deleting a Role Group is pretty simple, just hit Delete in the role group and confirm. If you accidentally created another role in a Role Group, you can simply click the trash icon beside the role.
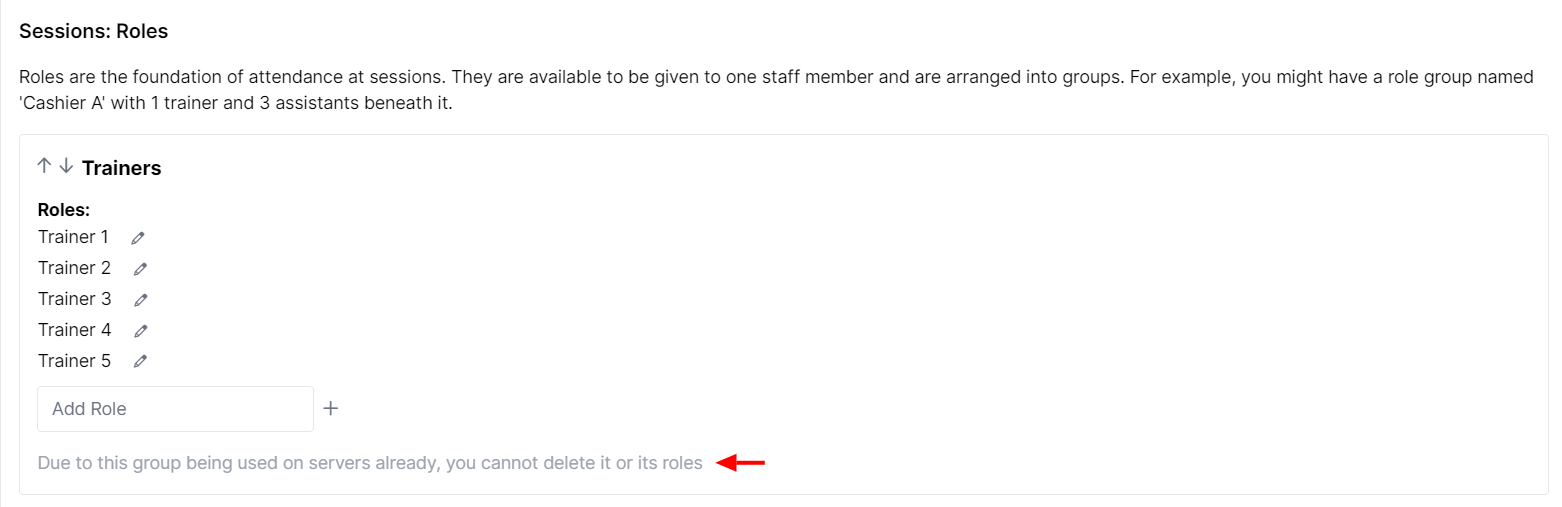
Please note that you cannot edit/delete roles if they are added into a session. You first need to remove the role group to the session before doing any changes.
=======

It's important to know that once a role group has been added to a server, you can't delete any roles from it to prevent attendance from being removed accidentally.